How to Make a Leather Belt
HOW TO MAKE A LEATHER BELT

If you’re a beginner at leather-working, you may be wondering how to make a leather belt. Belts are a common first project for people who are new to leather-craft. The experts at Stonestreet Leather have put together this handy guide to help you create homemade leather belts.
Making Your Own Leather Belt
If you’re interested in making your own belt, leather is a great material option. This timeless material is incredibly durable, elegant, eco-friendly, and of course, smells great. Leather belts can be on the pricier side, but they are a cost-effective purchase that will last you for years to come, and if you choose to make your own leather belt, your savings will only multiply.
Leather Belt Making
To make a leather belt, you need to have a number of supplies and materials handy to ensure that the job is done right.
Leather for Belt Making
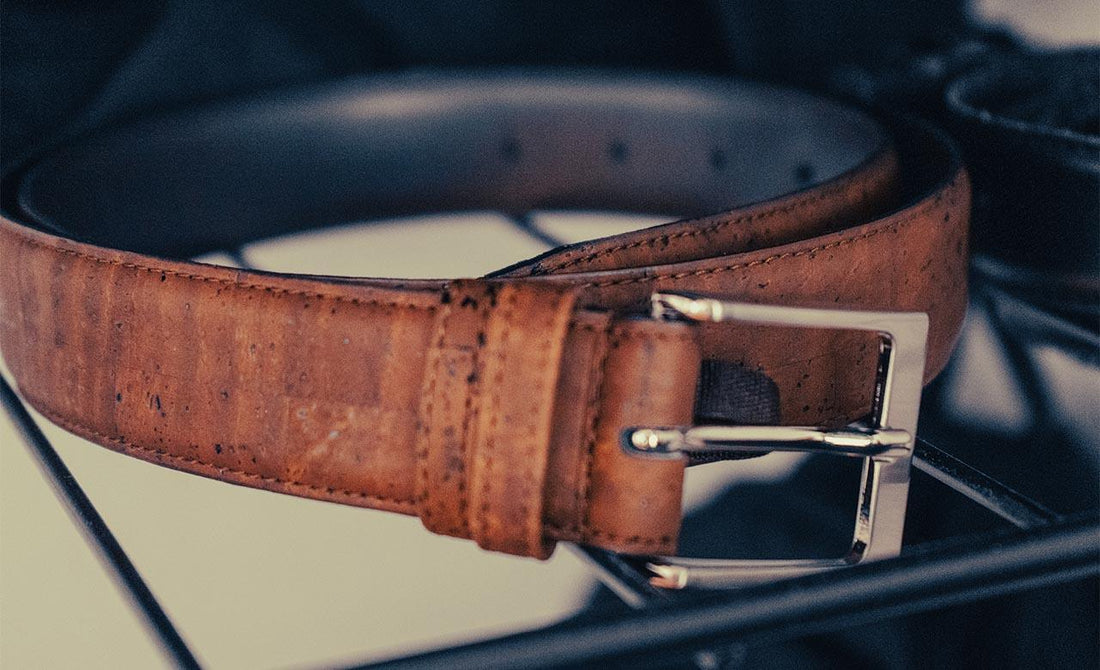
If you want to make a leather belt, and you plan on dyeing, stamping, tooling or applying oil to your belt, you will need a strip of 8 to 9 oz. vegetable tanned leather. If you don’t want to buy a whole side of leather, you are in luck, because you can buy individual leather strips in any width and/or thickness. If you are planning on stamping, tooling, or dyeing your belt, then you will probably want a vegetable tanned leather strip. If you don't want to mess with the dying process and you don't want to tool or stamp your belt, then you have a variety of options. For example, if you want a softer, pre-dyed leather strip to make your belt, then our West Tan Buffalo will be a great solution. West Tan Buffalo strips come in four different colors, matte black, matte brown, matte peanut (light brown), and matte burgundy brown. If you are looking for leather strips that are a little stiffer, and that have a glossy, vintage finish, then you may like our Vintage Glazed collection of buffalo leather strips. Vintage glazed comes in four different colors/finishes: vintage glazed tan, vintage glazed chocolate brown, vintage glazed denim, and vintage glazed black. Last, and definitely not least, one of our most popular types of buffalo leather strips for belts is our Crazy Horse buffalo line. Crazy Horse buffalo leather is only offered in two colors/finishes: crazy horse brown, and crazy horse navy. Crazy Horse leather is amazing and gorgeous because the leather has so much character and personality. Also, over time it will show even more character as the belt is worn and used. As you can see from the picture below of our brown crazy horse leather strip.
Leather Belt Making Supplies
In addition to the leather, you will need a few supplies on hand to make a belt. These include leather dye, rivets, oil, and a buckle. A few other supplies are optional but will enhance the quality and style of your belt, including thread for embellishments and edge paint.
Leather Belt Making Tools
If you are new to leather working, there are a number of tools that you will need to create high-quality leather products. You may have some of these on hand already, but others will have to be purchased from a craft or hardware store. These include:
- Strap cutter
- 3/16” hole punch
- Edge beveler
- Sandpaper
- Gloves
- Straight edge
These supplies can be purchased at most hardware and craft stores.
How to Make a Leather Belt
Once you have your supplies and materials ready, it’s time to make the belt. The specific steps needed to make a belt can vary based on the type or style of belt you are going for, but you can follow these steps for guidance.
How to Make Leather Belt That Fits
One of the most important parts of belt making is ensuring that your belt will fit. Whether you’re making the belt for yourself or someone else, you will first need to take measurements to know where the leather should be cut. The simplest way to do this is to put on a belt that you already have, put it onto the most comfortably fitting belt hold, and measure the belt all the way around. Alternatively, you can put a tape measure around your hips at the spot where the belt would sit. Record your measurement.
How to Make Leather Belts – Cutting the Leather
Next, lay your leather our flat on a table and mark a straight, long line on one side. The line should be a bit larger than the size you measured – for example, for a 32-inch waist size, cut 45 inches of leather. Then, finish with a perpendicular cut so the strap cutter can seamlessly enter and exit the leather.
Now is the time to use your strap cutter. First, you should set the thickness knob and set the width to your preference. Next, press the straight edge side on the strap cutter. Slowly feed the length into the cutter. Once the leather comes out the other end, slowly take it with your free hand and pull it while pulling the cutter towards you.
Making a Leather Belt – Add The Details
Now that the leather’s length has been cut out, it’s time to focus on the details.
Making Leather Belt Holes
Mark the placement of the holes on the tail end. The easiest way to do this is to use an existing belt for reference. The fold occurs and the buckle rod sticks out where the longer hole is.
After punching out the holes, shape the tail end so it folds over itself and snaps together to hold the loop and buckle. Starting right above the top hole, skive off about half of the thickness slowly and with shallow cuts. Alternatively, you can use a sander to grind off the thickness to get an even skive.
For lasting durability, it’s best to rivet your belt loops together, but they can be hand-stitched.
DIY Leather Belt Dyeing
After the belt has been cut out and shaped, it’s time to refine and dye the leather.
Homemade Leather Belts – Refining & Dyeing
Once the belt is cut out, you can bevel the edges for a refined and gentle feel. To do this, you should first lightly dampen the leather and glide the beveler along the top edges at a 45-degree angle.
Now it’s time to dye the leather. If you use all-natural vegetable-based dyes, you won’t need gloves, but it’s best to use them for anything harsher.
After the dye has been applied, you will need the belt to be completely dry before you can continue to the next steps. A hair dryer can be used to speed up the drying process.
You can also add additional decorative details to the belt at this point if you’d like. The dyeing and decorating step is an opportunity to add your own personal style to the belt.
As you learn how to make a leather belt and become more experienced with belt-making, you can try more advanced types of embellishment like embroidery or multiple dyes.
Make a Leather Belt – Final Touches
Finally, it’s time to bring life back to the leather.
Leather Belt Making
Oil can be applied to reduce the dryness and stiffness caused by working with the leather. Apply an even coat of extra virgin olive oil across the belt, but don’t add a ton all at once. Instead, slowly apply thin coats of oil to the top side. Keep in mind that extra virgin olive oil darkens the leather, so this may affect the color that you are going for.
Now, all you need to do is add your belt loop, then your buckle, and snap it all together. Your beautiful new belt will be ready to wear with pride. Congratulations, you’ve finished the Stonestreet Leather tutorial on how to make a leather belt!